
ethernet cable wiring guide
Ethernet cable wiring is the backbone of reliable network connectivity, offering high-speed data transmission for homes and businesses. This guide provides a comprehensive overview, ensuring a stable and efficient setup.
1.1 Importance of Proper Ethernet Cable Installation
Proper Ethernet cable installation ensures reliable network performance, minimizing interference and physical damage. It supports future upgrades, reduces signal degradation, and prevents connectivity issues. A well-planned setup enhances safety, avoids data loss, and guarantees long-term stability for all devices connected to the network.
1.2 Brief Overview of Ethernet Cable Types
Ethernet cables are categorized into types like CAT5, CAT5e, CAT6, and CAT7, each offering varying speeds and capabilities. These twisted-pair cables are designed to minimize interference, with options for shielded or unshielded versions. CAT5 and CAT5e are common for basic networking, while CAT6a and CAT7 support higher speeds, making them ideal for advanced applications and future-proof setups.
Understanding Ethernet Cable Types and Categories
This section explores Ethernet cable categories, explaining their differences in performance, compatibility, and ideal applications for various networking needs and their suitability for different environments.
2.1 CAT5, CAT5e, and CAT6 Cables: Key Differences
CAT5, CAT5e, and CAT6 cables differ in speed, frequency, and performance. CAT5 supports up to 100 Mbps, while CAT5e enhances speed to 1 Gbps with reduced interference. CAT6 offers up to 10 Gbps, making it suitable for high-bandwidth applications. CAT5 is ideal for basic networking, CAT5e for small businesses, and CAT6 for enterprise environments requiring faster, more reliable connections.
2.2 CAT6a and CAT7: High-Speed Solutions
CAT6a and CAT7 cables are designed for high-speed applications, supporting up to 10 Gbps and 40 Gbps respectively. CAT6a enhances noise reduction with improved shielding, while CAT7 introduces advanced shielding and higher frequency support. These cables are ideal for demanding environments like data centers, offering superior performance and future-proofing for advanced networking needs.
Choosing the Right Ethernet Cable for Your Needs
Selecting the right Ethernet cable involves considering speed, distance, and interference. CAT5e and CAT6 are common choices, while CAT6a and CAT7 offer higher performance for demanding setups.
3.1 Factors to Consider: Speed, Distance, and Interference
When selecting an Ethernet cable, consider speed requirements, maximum distance, and potential interference sources. Higher categories like CAT6a and CAT7 support faster speeds and longer distances. Shielded cables reduce interference, while unshielded options are cost-effective for shorter runs. Assessing these factors ensures optimal performance for your network setup, whether for home, office, or industrial use.
3.2 Crossover vs. Straight-Through Cables: When to Use Each
Understanding the difference between crossover and straight-through Ethernet cables is crucial for setting up a network. A straight-through cable connects devices of different types, such as a computer to a router, with identical wiring on both ends. A crossover cable, with crossed wiring, connects devices of the same type, like computer-to-computer. Modern devices often support auto-crossover, reducing the need for crossover cables, but knowing the distinction aids in compatibility and troubleshooting, especially with older equipment.
Preparing Your Network Layout
Planning your network layout involves mapping devices and connections, ensuring efficient cable routing through walls, ceilings, and studs. Proper organization enhances reliability and simplifies future maintenance.
4.1 Mapping Your Network: Devices and Connections
Mapping your network involves identifying all devices, their locations, and how they connect. List computers, routers, switches, and IoT devices to determine cable requirements. Consider the layout of rooms and the placement of network hardware to optimize connectivity. This step ensures every device is accounted for, simplifying the installation process. Proper mapping also helps avoid cable shortages or excess, saving time and resources.
Plan connections based on device types, such as PCs, printers, or smart devices. Determine if crossover or straight-through cables are needed for specific links. Identify the central hub or router location to streamline cable paths. This detailed mapping ensures a logical and efficient network structure, reducing interference and improving performance. Accurate planning here sets the foundation for a reliable and scalable network setup.
4.2 Planning Cable Routes: Walls, Ceilings, and Studs
Plan cable routes carefully to avoid interference and physical damage. Use walls, ceilings, and studs to guide cables neatly, ensuring they are secure and out of the way. Avoid areas prone to moisture or extreme temperatures, and keep cables away from power lines to minimize electromagnetic interference.
Use cable management tools like clips and ties to organize cables along studs and surfaces. This ensures a clean installation and prevents damage. Plan routes to allow easy access for future upgrades or repairs, ensuring your network remains scalable and efficient. Proper routing enhances both aesthetics and functionality.
Essential Tools and Materials for Ethernet Wiring
Ethernet wiring requires RJ-45 connectors, crimping tools, and cable cutters. Cable management clips, ties, and organizers are crucial for neat, secure installations, preventing damage and interference.
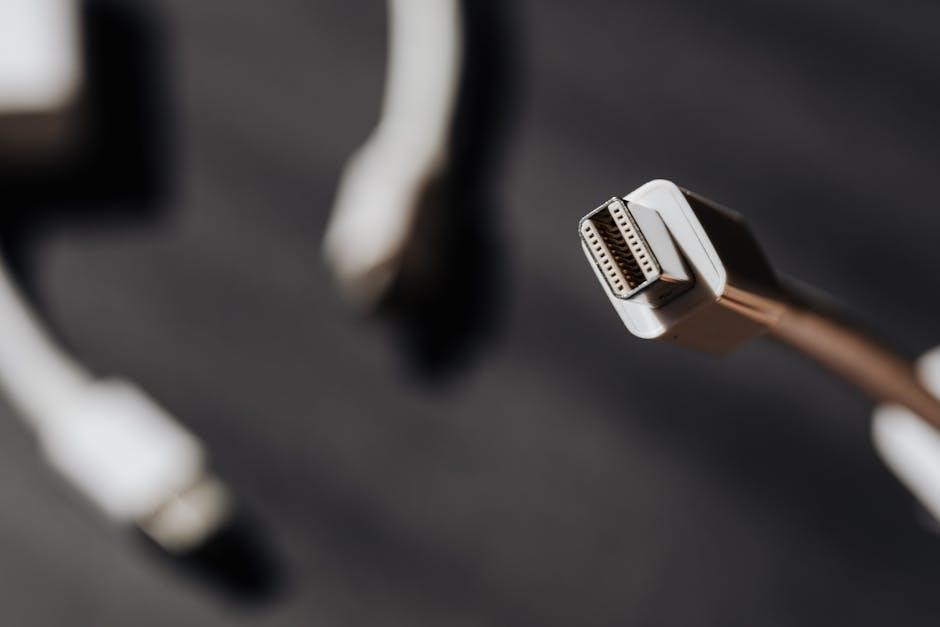
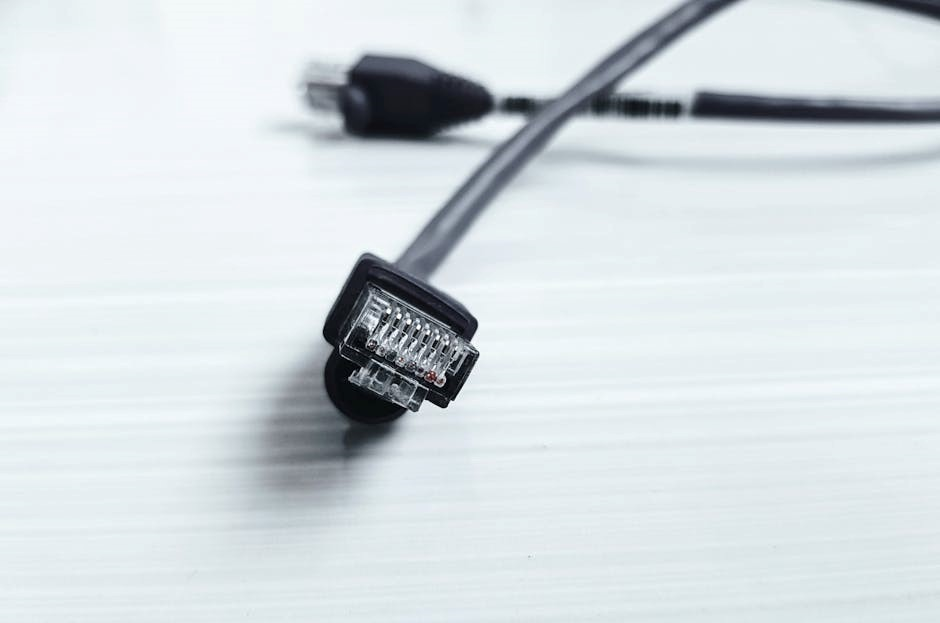
5.1 RJ-45 Connectors and Crimping Tools
RJ-45 connectors are essential for terminating Ethernet cables, enabling secure connections between devices. Crimping tools are used to attach these connectors properly, ensuring reliable data transmission. Straight-through and crossover cables require precise connector alignment. A good crimping tool ensures a secure connection, preventing signal loss. Proper installation is crucial for maintaining network performance and minimizing interference.
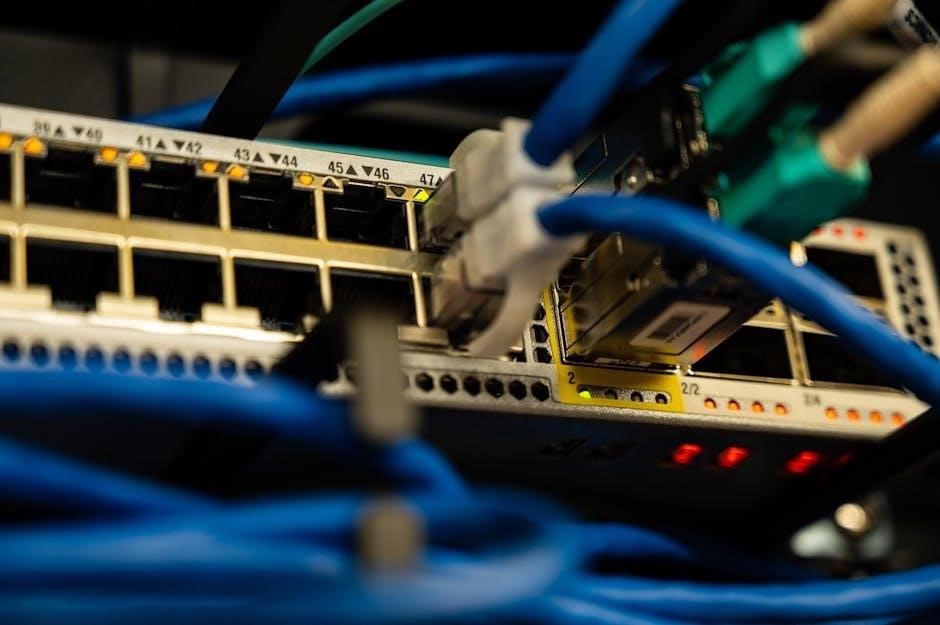
5.2 Cable Management: Clips, Ties, and Organizers
Efficient cable management is crucial for a tidy and reliable network setup. Cable clips and ties help secure Ethernet cables to surfaces, preventing damage and tripping hazards. Organizers keep cables neatly bundled, reducing tangles and improving airflow. Proper management ensures long-term durability and prevents signal interference. Invest in sturdy clips and ties for a professional installation that withstands the test of time.
Step-by-Step Ethernet Cable Installation
Plan your network layout, cut cables to length, and prepare ends. Crimp RJ-45 connectors securely. Connect cables to devices, routers, and switches, ensuring proper alignment for reliable data transmission.
6.1 Cutting and Preparing the Cable
Cut the Ethernet cable to the desired length using cable cutters or a utility knife. Strip the outer jacket carefully to expose the inner wires. Organize the wires according to the chosen wiring standard (T568A or T568B). Use a crimping tool to securely attach RJ-45 connectors, ensuring proper alignment and tight connections. Test the cable for continuity before installation to avoid issues later.
6.2 Crimping RJ-45 Connectors
Insert the prepared cable into an RJ-45 connector, ensuring wires align with the correct pins. Use a crimping tool to firmly press the connector onto the cable. Verify proper alignment and no wires are twisted. Test the connection with a cable tester to ensure continuity and correct wiring configuration. A secure crimp ensures reliable data transmission and minimizes signal loss or interference.
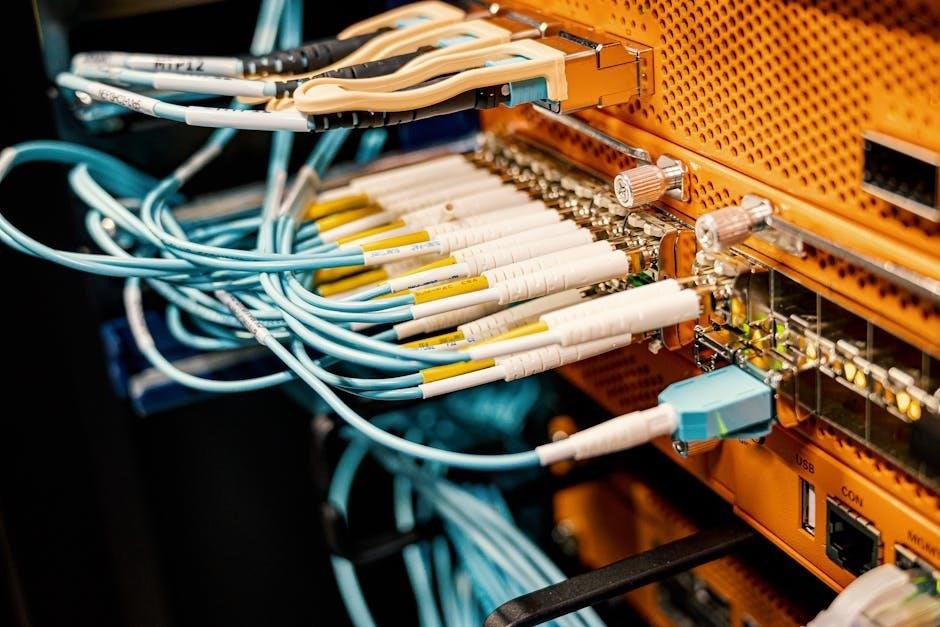
6.3 Connecting Cables to Devices and Routers
Insert one end of the crimped Ethernet cable into the router’s WAN or LAN port. Connect the other end to your device’s Ethernet port. Ensure a secure fit to avoid loose connections. Use cable management clips to organize wires. Test connectivity by pinging the router or accessing a website. A stable connection ensures optimal performance for online activities and data transfer. Proper alignment is crucial for uninterrupted service.
Identify faulty cables or connections by testing with another cable. Diagnose speed issues using network diagnostic tools. Check for loose connections or physical damage to wires.
Troubleshooting Common Ethernet Issues
7.1 Identifying Faulty Cables or Connections
Start by visually inspecting cables for damage or wear. Use a cable tester to verify connectivity between both ends. Test with a different cable to isolate issues. Check for loose connections or bent pins in RJ-45 connectors. Ensure all ports are securely plugged in. If problems persist, consider using diagnostic tools to detect signal loss or interference. Replace any faulty cables or connectors promptly to maintain network reliability.
7.2 Diagnosing Network Speed and Connectivity Problems
To diagnose network speed issues, start by checking the router’s configuration and ensure all devices are connected properly. Test with a different Ethernet cable to rule out cable faults. Use network diagnostic tools to measure latency and packet loss. Perform a speed test to compare actual speeds with expected performance. Restarting the router or modem often resolves connectivity problems. Consider interference from nearby devices or outdated firmware as potential causes.
Best Practices for a Reliable Ethernet Setup
Ensure cables are securely fastened, avoid interference sources, and use high-quality connectors. Regularly inspect cables for damage and maintain proper organization for long-term stability and performance.
8.1 Avoiding Interference and Physical Damage
To ensure optimal performance, minimize electromagnetic interference by keeping cables away from power lines and wireless devices. Use shielded cables in noisy environments and avoid bending or pinching wires. Securely fasten cables to prevent movement-related damage and use cable management tools to maintain organization. Regular inspections can help identify and address potential issues before they impact connectivity.
8.2 Securing Cables for Long-Term Stability
Securing cables properly ensures long-term reliability and prevents damage. Use cable clips, ties, or organizers to fasten cables neatly, avoiding loose or tangled setups. Regularly inspect connections and re-secure as needed. This prevents wear and tear, reducing the risk of signal loss or disconnections over time. Proper cable management also simplifies future updates or reconfigurations.
Safety Tips and Maintenance
Proper handling prevents damage. Schedule regular inspections. Avoid over-bending. Use protective covers. Ensure cables are secure. Regular checks maintain performance and safety, especially near power sources.
9.1 Handling Cables Safely
Always handle Ethernet cables with care to prevent damage. Avoid over-bending or twisting, as this can cause internal wire breaks. Use protective covers or sleeves in high-traffic areas. Never pull cables excessively or expose them to extreme temperatures. Handle connectors gently to avoid damage. Store cables properly, avoiding tight coils or kinks. Regularly inspect for signs of wear or damage before use.
9.2 Regularly Inspecting and Updating Your Setup
Regularly inspect your Ethernet cables for signs of wear, damage, or interference. Check connectors for loose connections or corrosion. Test cables with a network tester to ensure proper functionality. Update firmware and network configurations as needed. Replace outdated cables with higher-category ones for better performance. Plan for future scalability by assessing current and potential network demands.